3 Methods to Create a Recovery Disk for Windows 10
A Windows 10 recovery disk allows you to recover and repair the operating system on your Windows 10 PC. When things go wrong and your PC can't boot-up, a Windows 10 repair disk helps you fix the issue and restore your PC to a working state. It's fairly easy to create a recovery disk for Windows 10 and there are multiple ways to do it.
In the following guide, you will learn three different ways to create a Windows 10 repair USB which you can easily attach to your PC and fix issues in no time. Here's how:
- Method 1. How to Create a Recovery Drive on Your Windows 10 PC
- Method 2. How to Create a Windows 10 System Repair Disc
- Method 3. How to Create Windows 10 Recovery/Repair Disk from Another Computer
Method 1. How to Create a Recovery Drive on Your Windows 10 PC
Creating a recovery drive on a Windows PC is extremely easy and you can do that from the Control Panel on your PC. Make sure you have a blank USB flash drive available to use and ensure that it has enough memory space available on it.
Once you have a USB drive handy and are ready to create a recovery drive, follow the below steps:
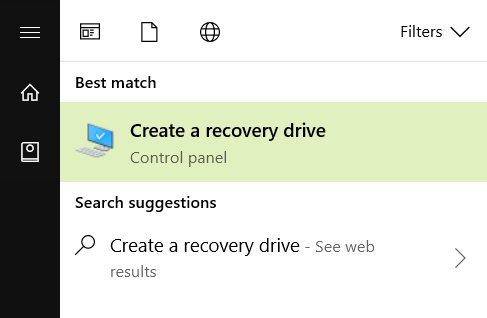
● Using the Taskbar search function, search for the term Create a recovery drive and a result will appear on your screen. Click on it and it will launch the utility on your PC.
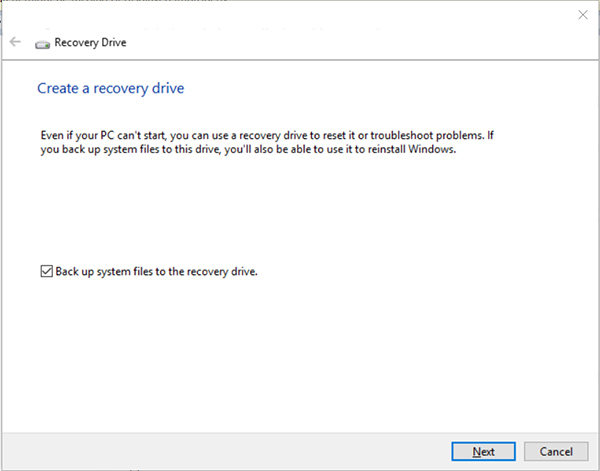
● When the utility launches on your PC, checkmark the option that says Back up system files to the recovery drive. Then, click on the Next button to move forward with the process.
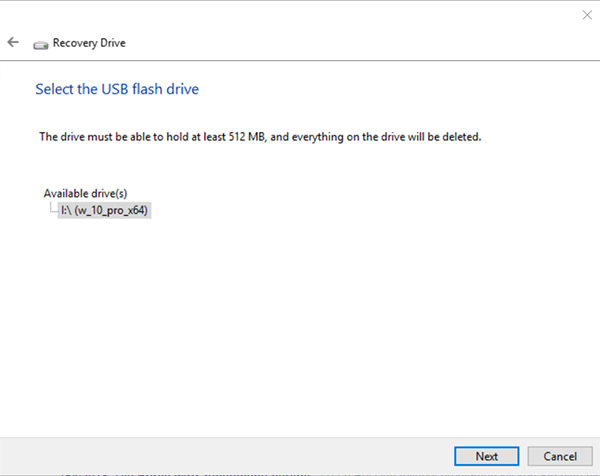
● On the following screen, you will be asked to choose your USB drive from the list. Click on your drive and then click on the Next button to continue.
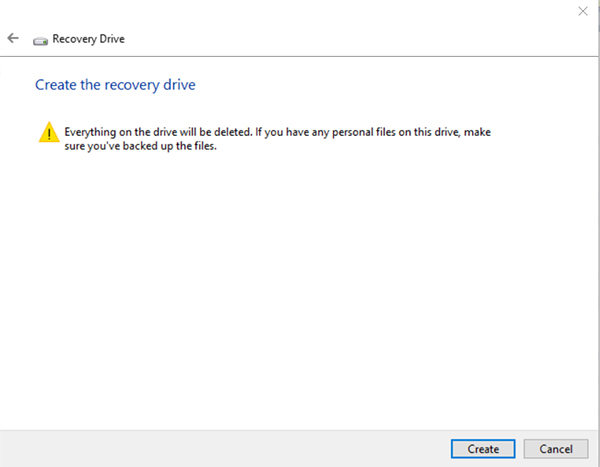
● Finally, click on the button that says Create to start creating the Windows 10 recovery drive.
The recovery drive should now be created and you can eject it from your PC. With this Windows 10 repair USB, you can now fix many of the issues on your computer.
Method 2. How to Create a Windows 10 System Repair Disc
If the USB drives are not your thing and you would prefer the old-fashioned disc method, you are still covered. Windows 10 does allow you to create a CD/DVD repair disc that you can use to fix issues on your computer. Also, you don't need a third-party tool to be able to create a Windows 10 repair disc as the built-in tools on your PC are sufficient to do the job.
Here is how you can create a system repair disc for Windows 10:
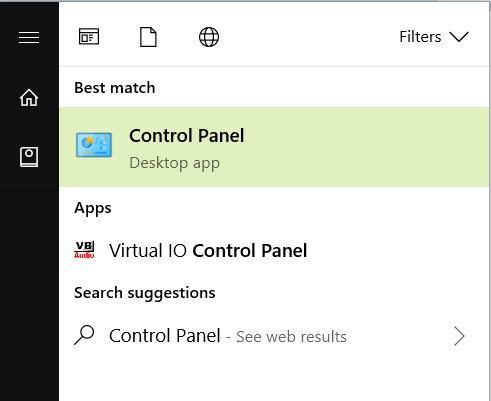
● Using the Taskbar search feature, search for the term Control Panel and click on it when it appears on your screen. It will launch the Control Panel on your PC.
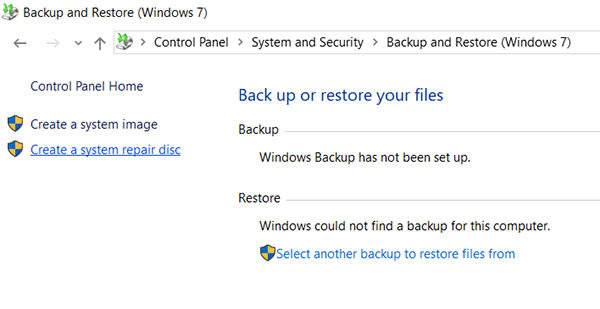
● When Control Panel launches, select Backup and Restore (Windows 7) and then choose the option that says Create a system repair disc from the left-hand side menu.
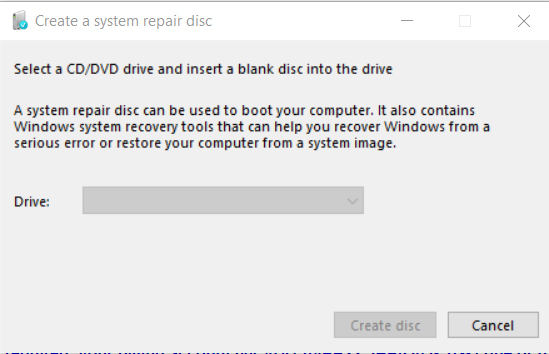
● You should now be able to select your disc drive from the dropdown menu. Select your blank CD/DVD from the menu and then hit the Create disc button.
Since a Windows 10 repair disc does not back up files from your system, it only takes a few minutes to be created. Once it has been created, you can start using it to fix issues on your computer. Also, make sure that you only use it for the version of Windows it was created on. A repair disc created on Windows 7 will not work for Windows 10.
Method 3. How to Create Windows 10 Recovery/Repair Disk from Another Computer
If you didn't create a recovery drive or a repair disc before your PC started to cause issues, you can't use a recovery disc to fix issues on your computer. Fortunately, you are not left out as there's still a way to create a repair disk from another computer that you can use on your computer to get rid of issues.
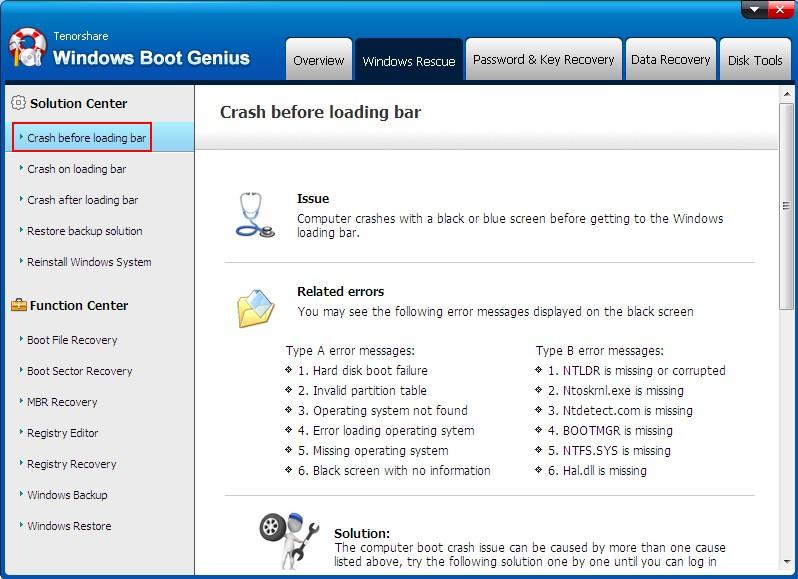
To do that, you are going to use a software called Windows Boot Genius. It is a tool loaded with fixes for many kind of issues you can face on your Windows computer. From helping you fix startup issues to even letting you restore registry, it can do many things to ensure your PC works properly. Let's see how you can use the software to create a repair disk.
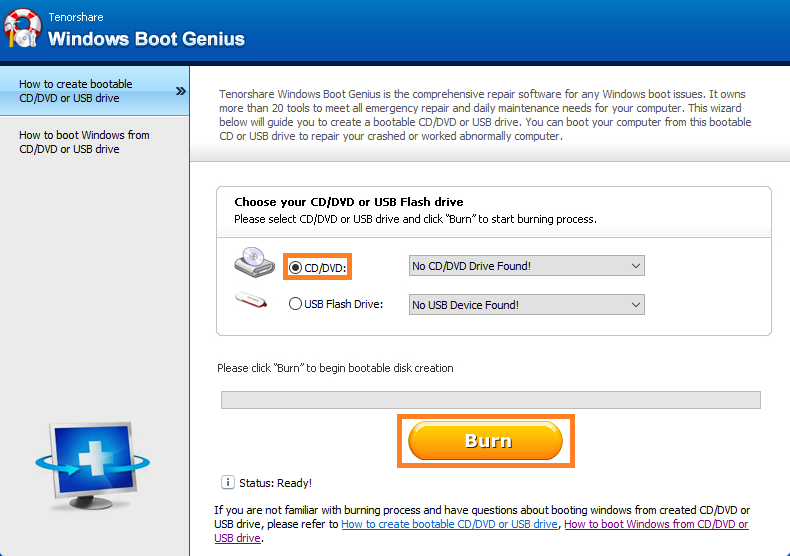
Buy Now($19.95)● Download and run the software on another PC. Insert a blank CD/DVD/USB into your disc drive and select the disc drive in the software. Then, click on the Burn option to start creating a recovery disk.
● Boot your problematic PC from the recovery disk you just created and it will launch the software. Select Windows Rescue in the software and then click on the issue you are facing on your PC.
The software will guide you how you can go about fixing the issue on your Windows 10 PC. So that's how you can create a Windows 10 boot disk to repair issues on your computer.
Better safe than to be sorry and the above guide helps you apply this quote in your life by providing you with three ways to create a recovery disk on your Windows 10 computer. It also shows how you can use Windows Boot Genius to create the disc from another computer.
Buy Now($19.95)- Related Articles
- How to Fix Windows 10 Upgrade Error Code 80240020
- Fix INACCESSIBLE_BOOT_DEVICE Error in Windows 10
- How to Fix Windows 10 Boot to a Black Screen
comments powered by Disqus