Top 3 Ways to Take Screenshot on a Dell Windows 7
Top 3 Ways to Take Screenshot on a Dell Laptop Windows 7
Human is visual being. We understand image better than words. Recognizing a person you’ve met once is easier than describing him/her using words. That’s why the web is full of images, that’s why we take screenshots once in awhile.
But capturing the computer screen is not something that most people do every day. That’s why many computer users don’t even know how to do it. And to make things worse, each and every computer might have a different method of recording the display.
If you are a Dell on Windows 7 owner, here are top 3 ways to take screenshots on your computer.
1. With Print Screen (PrtScn) Button
Print Screen (PrtScn) button has been with every modern computer keyboard since the beginning of time. While the location of the button might be different from one computer to another, it’s always somewhere near the functions button. On Dell laptops, the key is located next to F12.

Taking screenshots using the button is as simple as pressing it. One press will record everything that is shown on the screen and put the result in the clipboard. If you want to capture only the active window, press the Alt key while pressing the PrtScn key.
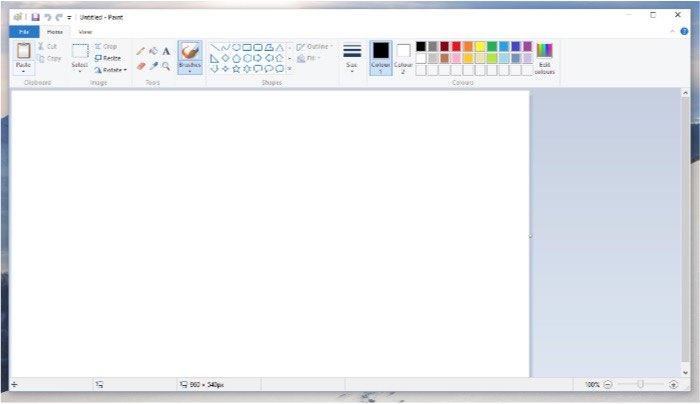
Because the default number of the item that the clipboard can hold at one time is just one, you must bring the image out of clipboard before placing another item there. To do that, you need help from an image editor like the classic Paint.
Open the Paint application, create a new document, and paste the image into the document using Ctrl + V. When the screen image is already in Paint, you can save it anywhere on your hard drive.
2. With Sniping Tool
There is another screen capture utility on Windows that is even less known than the Print Screen button. It’s called Sniping Tool, and it has been part of Windows since Vista and remain hidden from most of the users.
You can find the app by typing Sniping Tool in Windows Search function. Open the app and press the New button. This will activate the capture cursor.
Drag the cursor to cover the area of the screen that you want to capture.
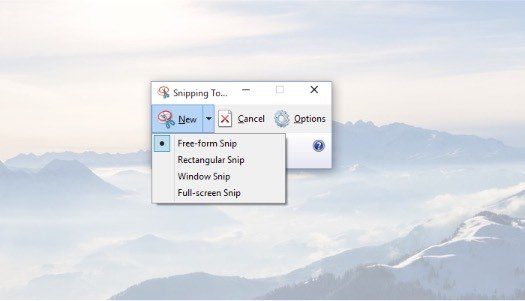
Release the cursor, and the selected area will appear on the Sniping Tool’s window, and you can save it to your hard drive. Unlike Print Screen button, you don’t need another application to save the image.
3. With Third-Party Applications
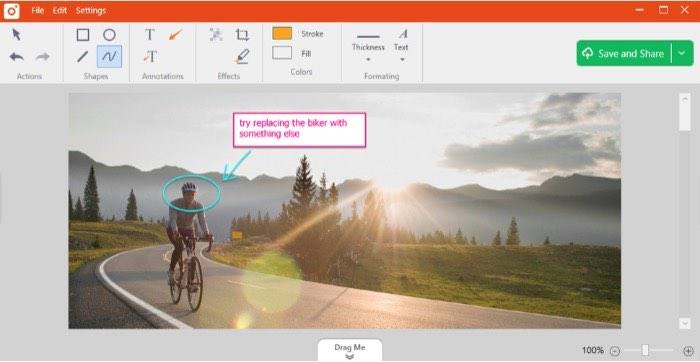
Those who need more advanced screen grabbing features, you can opt for one of the third-party screen capturing tools available on the market. Not only taking screenshots, but these tools will also give you the ability to annotate, add text, crop and adjust the images, share the result online, and more. Some of them even capable of recording video of the screen.
There are a lot that you can choose from. Some of the free alternatives are TinyTake, Jing, Greenshot, Screenpresso, LightShot, and much more.
That’s all for how to take screenshots on a Dell laptop Windows 7. if you have any problems about Dell, like forgetting Dell laptop password or cannot access to your Dell notebook, you can use Windows Password Key, a professional and instant Windows password unlocker to recover login password on Dell laptop Windows 10/8.1/8/7.
- Related Articles
- Top 3 Ways to Fix EDB.LOG in Windows 7
- 3 Ways to Fix Windows 7 Taskeng.Exe Error
- How to Skip Windows 7 Login Screen
comments powered by Disqus
